Coffee Syphons, or vacuum coffee makers, are probably not the most practical or the fastest way to make your brew. But if you’re looking to combine your coffee
routine with a chemistry magic show experience, this is the brew lab set for you! Seriously though, there are certain benefits to this method, so let’s get
into it.
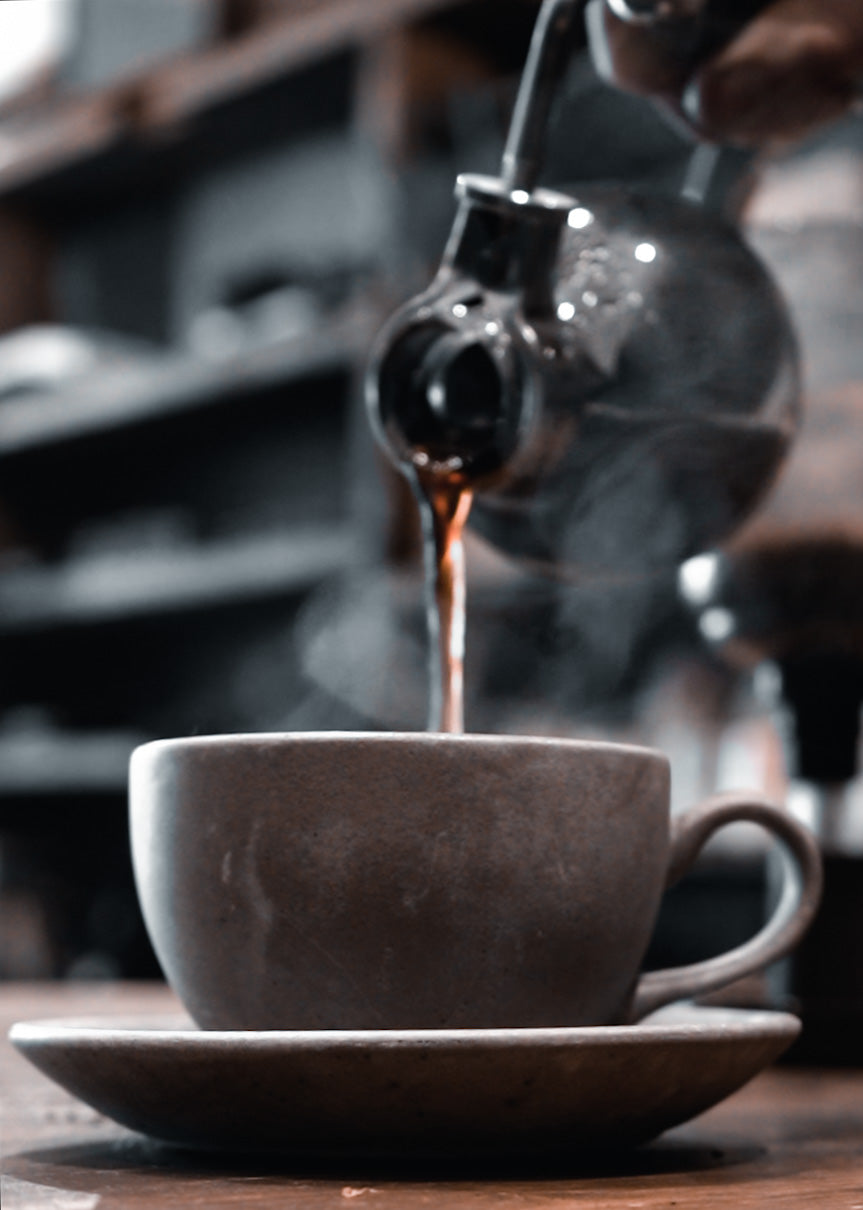
The syphon coffee maker combines immersion and vacuum
extraction while brewing, like a weird little lovechild of a French press and an
Aeropress. As a result you end up with a clean and full-bodied cup of coffee,
so arguably it’s a pretty fortunate affair.
Temperature control.
The syphon coffee maker uses consistent and precise temperature
control during the brewing process, ensuring that the water temperature remains
stable, which is essential for brewing a quality cup of coffee.
FULL DISCLOSURE:
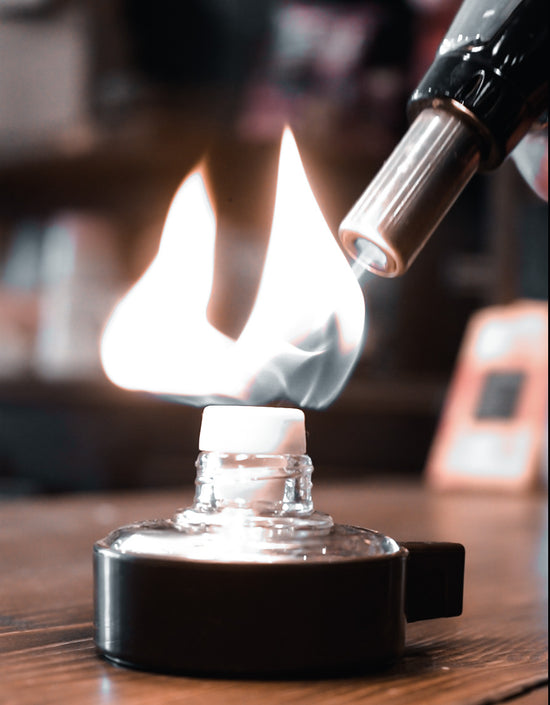
This step is true but requires some skill and
practice to achieve. Like for instance, we’ve learned in just one go that if
the wick is too long, the flame will be way too high.
No paper filters.
Running out of coffee filters is arguably a tragedy equal to running our of toilet paper when you most need it. The syphon coffee maker uses a reusable cloth or metal filter, which means there is no need to constantly purchase paper filters. This reduces waste and is a more eco-friendly option and a less risky
one for emotional damage.
Aesthetics.
Jokes aside, the syphon coffee maker is pretty radical looking. With its elegant design and intricate mechanics it is pretty much considered a work of art and can be a beautiful addition to any coffee lover's collection.
So now that you know why
to use it, we might as well tell you how.
Needed:
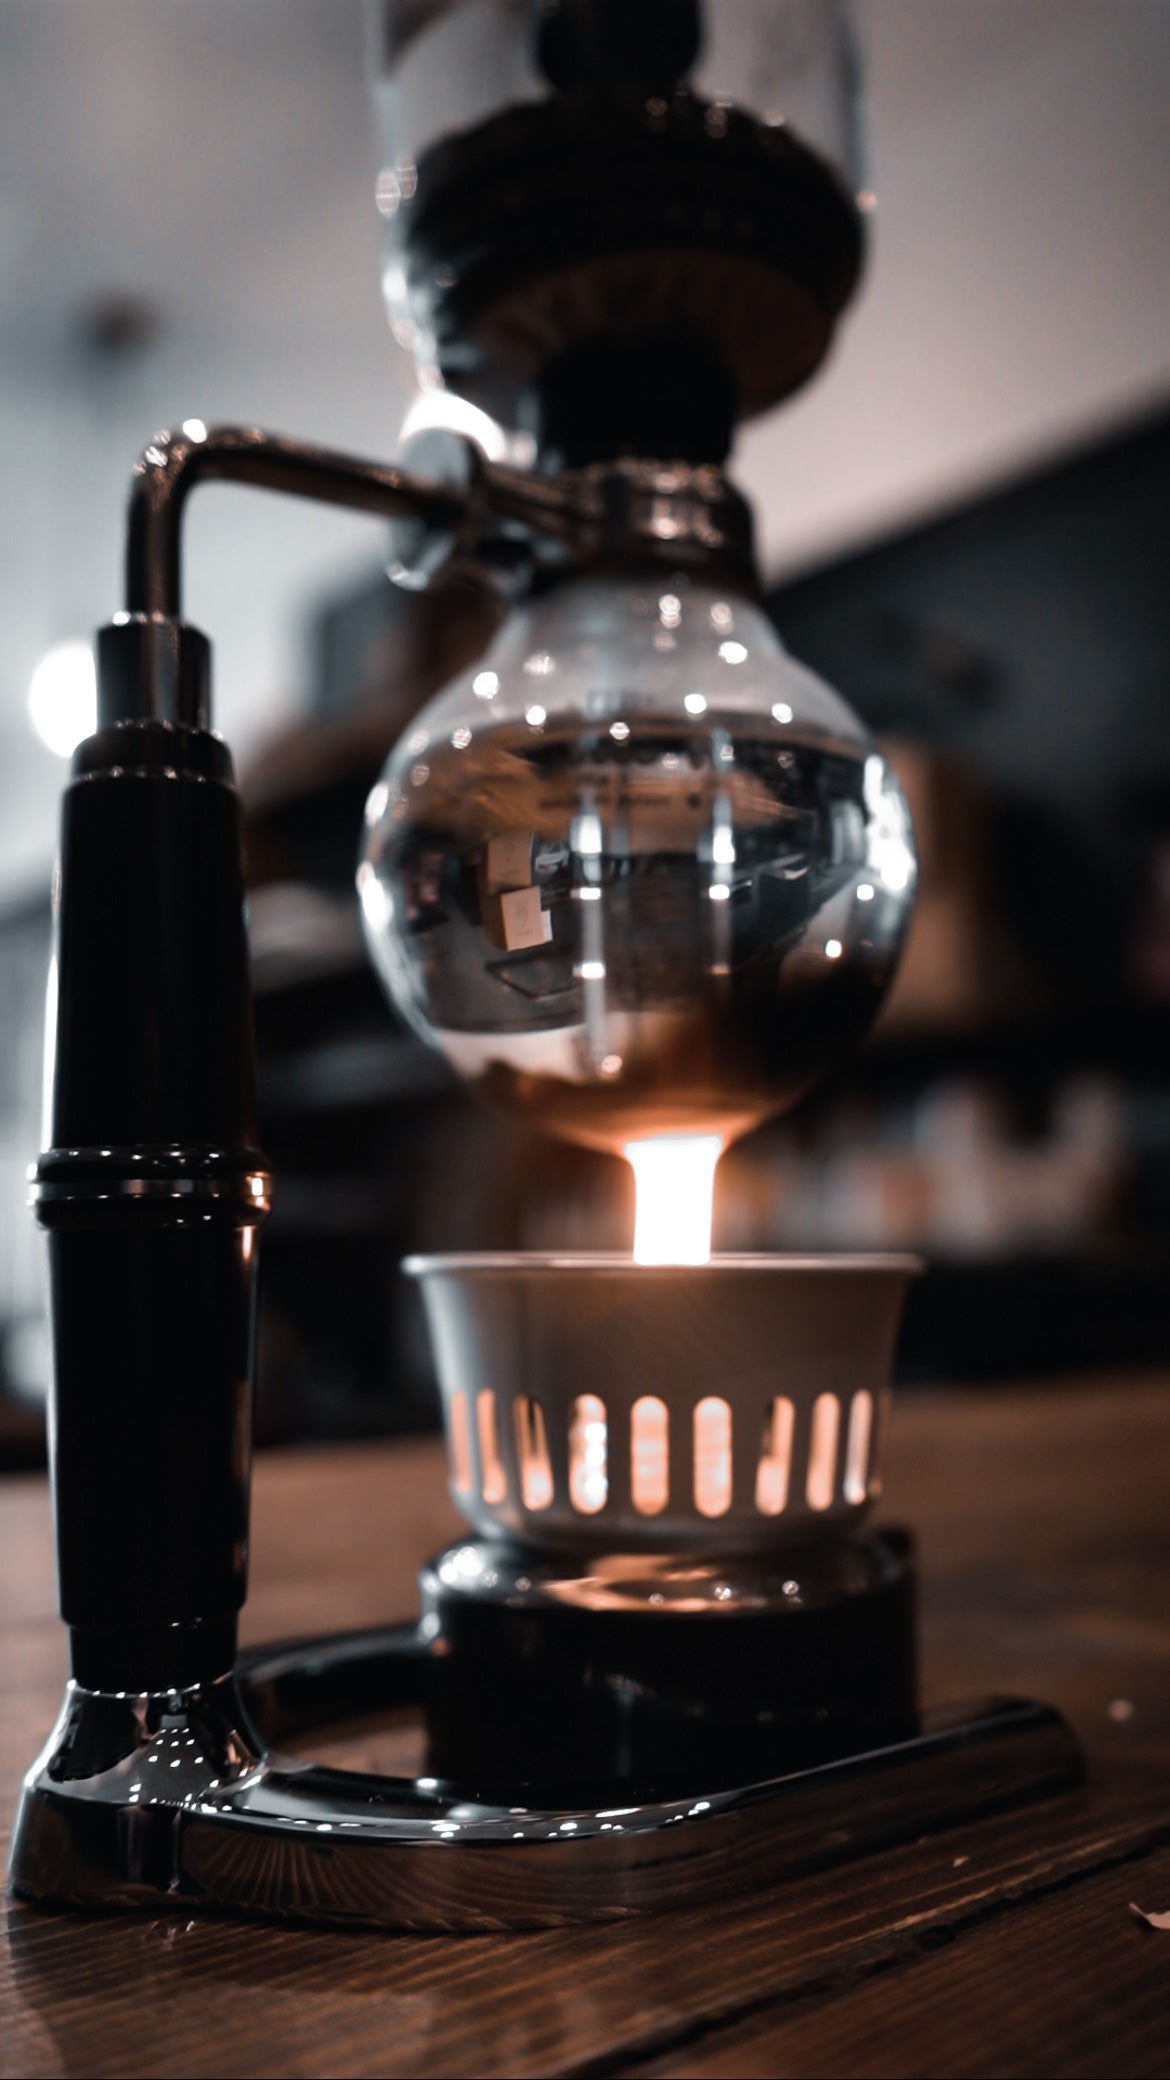
Coffee Syphon
This should include the two glass chambers, the heat source, filter, stirrer and the stand to hold it all together.
Coffee
20-25g of your favourite beans.
Grinder
... to prep the aforementioned beans. For the vacuum the grounds should be ever so slightly finer than the grounds for a regular pour over.
Brew time:
Depends on your magic and engineering skills. But let's say about 10 minutes.
Here's how you do it...
-
Step 1:
Fill the bottom chamber with water. Unscrew the top chamber from the bottom and fill the bottom chamber with cold water. Be sure to fill it to the designated line, usually indicated by a small metal or plastic clip.
-
Step 2:
Place the filter into the top chamber, ensuring that it is secured tightly. Use the chain and hook at the bottom of the filter holder to
secure it in place. And add your coffee grounds. -
Step 3:
Heat the water. This is where the fun begins. Light up the wick of the heat source and place it directly under the bottom chamber.
-
-
Step 4:
Literally watch the water boil. To be fair when it begins to, thanks to sorcery, witchcraft and the mysterious power of the universe, the water will begin to rise into the top chamber, beginning the coffee extracting process. Once the water is in the top chamber, stir the coffee grounds gently to ensure they are fully saturated.
-
Step 5:
Remove the heat. Once the coffee has steeped, remove the fire
source and put out the flame. Wait for the vacuum to do its job. As the bottom chamber cools, a vacuum is created, which draws the coffee back down through the filter and into the bottom chamber. From here, the coffee is good to go!